
Your first goal
Forget the menus for now. Finish one egg cycle: mount a pet, track an egg, carry it to My Plot, hatch it, and check what you got. Once that route feels familiar, the rest of Ride A Pet starts to make sense.
Avoid the common beginner trap of walking around with no target. Movement is progress only when it leads to another egg, a useful plot action, or a clear upgrade.
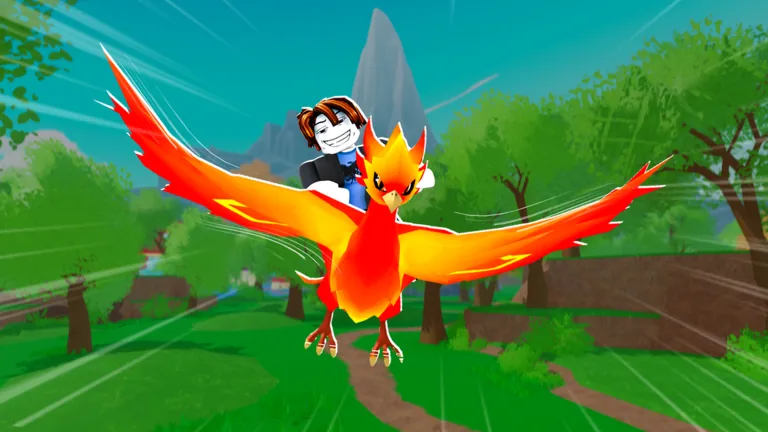
Read the starting interface
Take a few seconds to identify the buttons and counters that matter during your first session.
| UI element | Beginner use |
|---|---|
| Egg Basket | Check whether you can carry another egg |
| Dismount | Confirms that you are currently riding a pet |
| Lightning number | Shows the speed-related value tied to your mount |
| My Plot marker | Guides you back to your personal area |
| Track or Radar | Helps you turn an egg choice into a route |
| Index | Lets you review newly collected pets |
| Shop | Holds purchases; ignore it until you know what you need |
| Rebirth | A later reset decision, not a first-minute task |
Sampled beginner gameplay showed an Egg Basket state of 0/1. Treat the number on your own screen as the rule for your current account. Check it before every search, because running to an egg with no open slot wastes the entire trip.
Step 1: mount before you search
Start on the best pet you already own and make sure the Dismount control appears. You will spend most of a run riding. Save walking for small adjustments around eggs and plot equipment.
If you have more than one pet, inspect the current stat cards. Choose the one with the better displayed speed value under the same conditions. Do not decide from size, color, or how dramatic the model looks.
Step 2: choose one egg target
Find the Track interaction or open the Radar flow shown in the live game. Choose one active egg that matches your current movement ability. A nearby target that you can return safely is better than a spectacular target that expires before you reach it.
Give the screen a quick check before you leave:
- Is there an open Egg Basket slot?
- Is your best mount equipped?
- Does the target show a timer?
- Can you recognize the route back to My Plot?
Follow the on-screen guidance instead of guessing from a static map. World eggs can be part of a rotating or timed set, so old coordinates are less useful than the current Track display.
Step 3: pick up and return
When you reach the target, interact with the egg and confirm that the basket count changes. Turn back toward My Plot immediately. Do not detour for a second target when your basket is full.
Route discipline matters more than dramatic speed. Keep the camera pointed toward open ground, avoid fences and dense trees, and correct wrong turns early. If the egg has a visible break timer, judge the trip by the remaining time on your own screen.
Step 4: hatch and inspect
At My Plot, use the available nest or hatching space. Let the ordinary process complete, then claim the pet. Open its live information before equipping it.
Ask three questions:
- Is its displayed speed better than my current mount?
- Is it a new Index entry?
- Does it belong in my plot setup instead of being sold or ignored?
A new hatch can advance your collection even when it is not a speed upgrade. That is why the Index deserves a quick check after every new result.
Step 5: feed and build the next run
Current gameplay includes food interactions. Read the live food description and feed the pet you intend to use, not a random duplicate. Then check My Plot’s cash display and per-second rate.
Spend with a purpose. Early purchases should remove one clear problem: slow travel, trouble finding eggs, slow hatching, or limited carrying space. If none of those is blocking you, keep playing the normal loop and learn the map.
What to ignore at the start
Rebirth, mutation, and paid convenience can wait until you understand their live menus. Mutation is confirmed to make pets faster, but costs and outcomes belong to the current interface. Rebirth is a reset decision, so you need to know what disappears and what remains. Game passes remove friction, but they do not teach route choice or pet comparison.
The day/night countdown is also not an automatic command to change routes. Watch it, but do not assume it changes egg spawns unless the live game gives you a clear message or visible change.
A strong first-session checklist
Before ending your first session, see whether you can tick off these milestones:
- Finish at least one pickup-to-hatch loop.
- Ride two pets and compare their displayed speed.
- Open the Index after a hatch.
- Identify the Track/Radar interaction.
- Return to My Plot without relying on random wandering.
- Check the plot cash and per-second displays.
- Read the Rebirth panel without activating it.
That small checklist gives you a working mental map of the entire game without forcing you to spend or reset too early.
FAQ
How do I get my first better pet?
Track an active egg, carry it back to My Plot, hatch it, and compare the new pet’s live speed value with your current mount.
Why can I not pick up another egg?
Check the Egg Basket counter. If every slot is occupied, return to My Plot and process the egg you already carry.
Should beginners buy Radar immediately?
Try the live Track and Radar menus first. A purchase makes sense only if finding a target is what keeps slowing you down. It will not fix a slow mount or a full basket.
What should I check before Rebirth?
Read the current requirement, reset list, retained progress, and permanent reward in the Rebirth panel. Do not activate it until all four are clear.